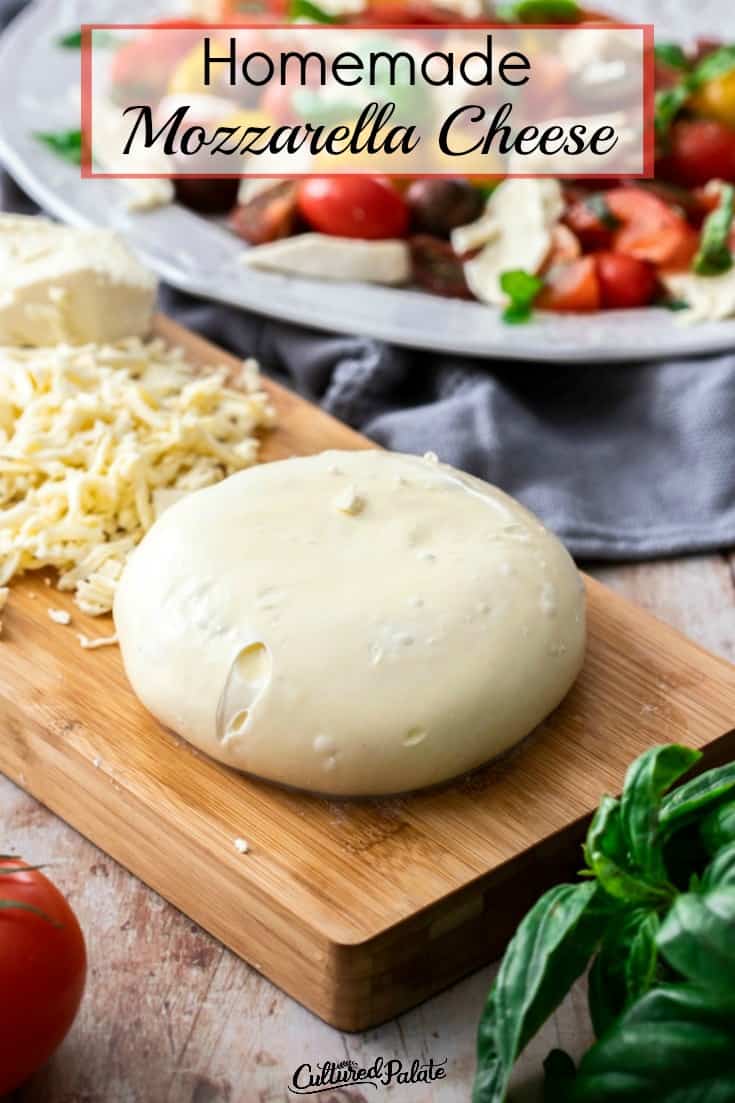
This mozzarella cheese recipe is so easy! Plus, Homemade Mozzarella Cheese is easy and fun to make, not to mention it tastes great! It can be used with so many different recipes such as homemade pizzas, pasta dishes, and salads.
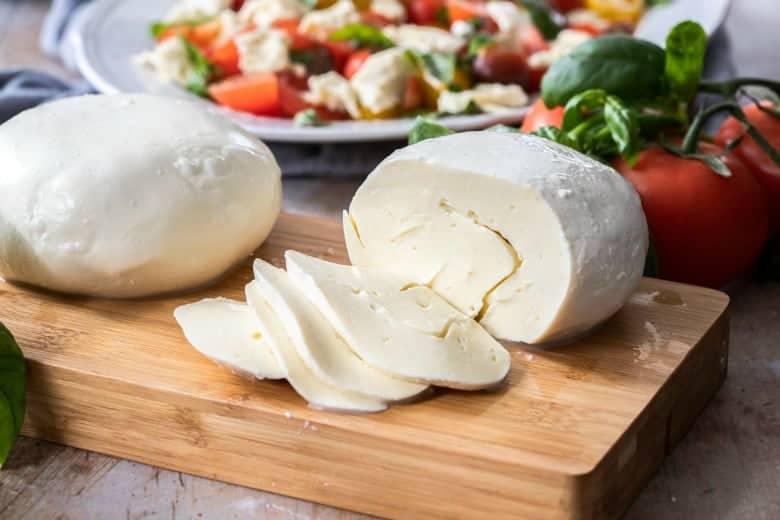
Having our own family milk cow means we normally have a lot of wonderful raw milk on hand.
Besides drinking it and making kefir or yogurt an easy way to use milk is by making homemade mozzarella cheese.
But, don't think you have to have a family milk cow to make homemade mozzarella. Oh no! You can use store-bought milk for great results!
Mozzarella is an Italian cheese that is quick, easy, and fun to make. We enjoy eating it fresh, as well as on pizza and in lasagna.
Be sure to try it on Homemade Wheat Thins or Almond Flour Pizza Crust - it is delicious in any recipe!
I have found that the process of making homemade Mozzarella cheese is very forgiving.
I use to be careful to use milk that was at least 3 days old as many recipes require. As milk sits, the acidity increases which allows the cheese to stretch. But, I have found with the milk my cow gives this waiting period is unnecessary.
A printable recipe version of the homemade mozzarella cheese follows the photo tutorial.
Instructions
Before getting started, be sure to check out Cheese Making Basics for helpful tips, supplies, and ordering information.
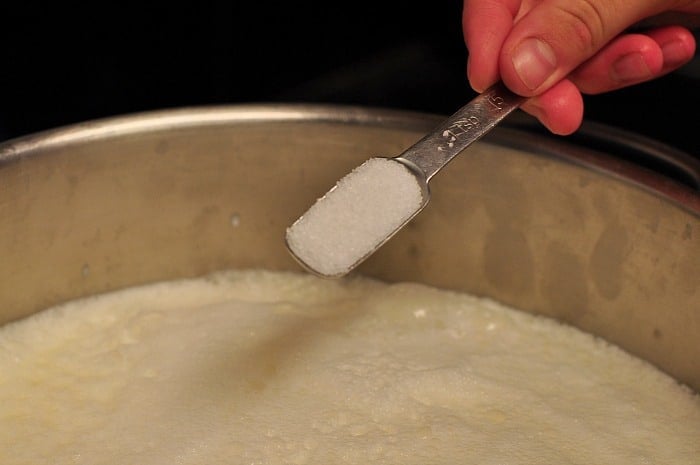
- Pour milk into a pot, sprinkle with citric acid and stir well. Milk must be cold or the citric acid does not work well.
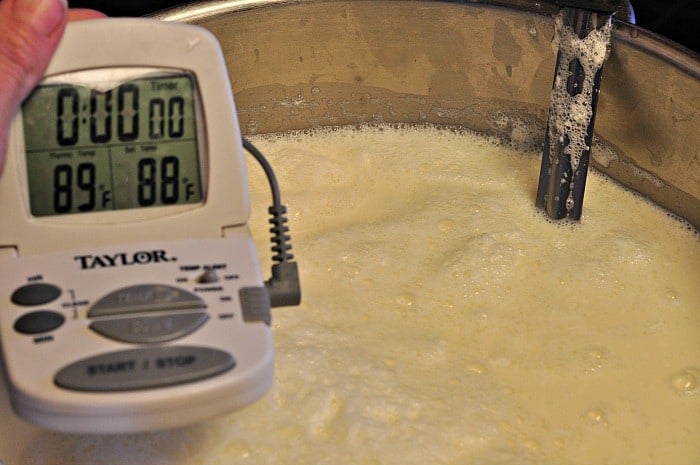
- Heat milk to 88F - 90F over medium heat. If you overheat - just let it cool back down.
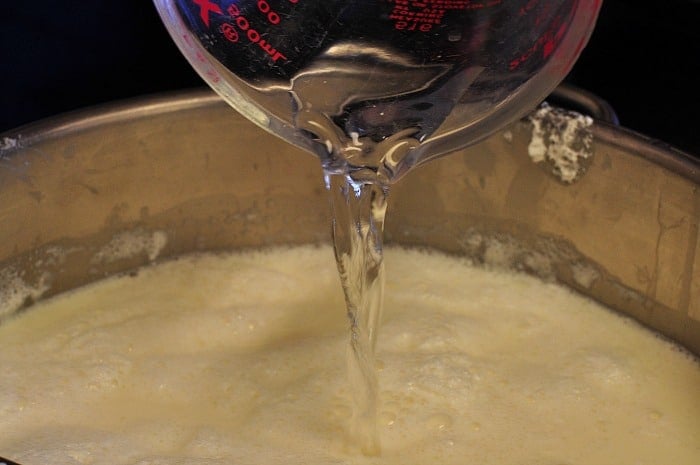
- Pour dissolved rennet into the milk while stirring.
- Turn off the heat. Stir slowly and after a few minutes, the milk will begin to thicken. Globs of white curd will separate from the liquid (whey).
If it doesn't coagulate immediately, let the milk sit for about 30 minutes.
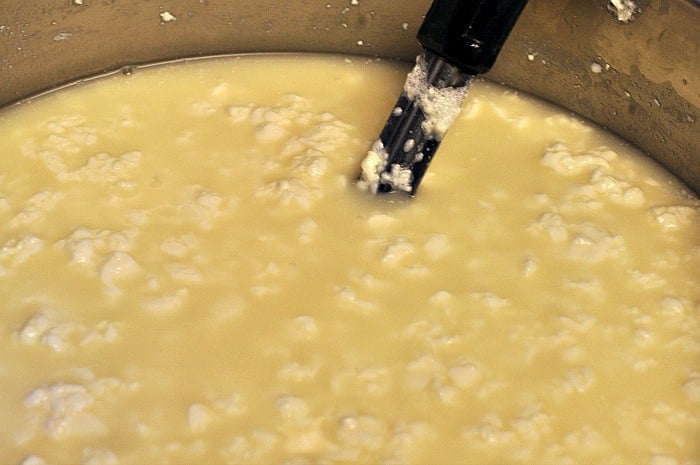
- Once the milk has coagulated and the whey separated, turn the heat to high and heat milk to 110F.
- Place a colander over another pot and pour or spoon out the curds into the colander.
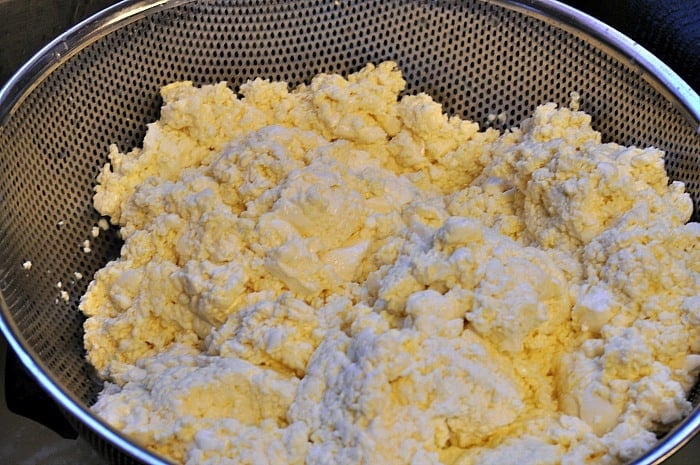
- Continue to heat the whey. Press whey out of the curds in the colander. Place the curds back into the pot of whey and heat until 120 F.
Now, for the fun part of making homemade mozzarella cheese!
- With a spoon, lift the curds out of the whey - cool a few seconds, if necessary, and begin pulling and stretching it into a rope. The cheese will break apart at this point if it is not hot enough - just put it back into the whey and let it heat further.
- After stretching it into a rope, return it back into the whey to heat it back up.
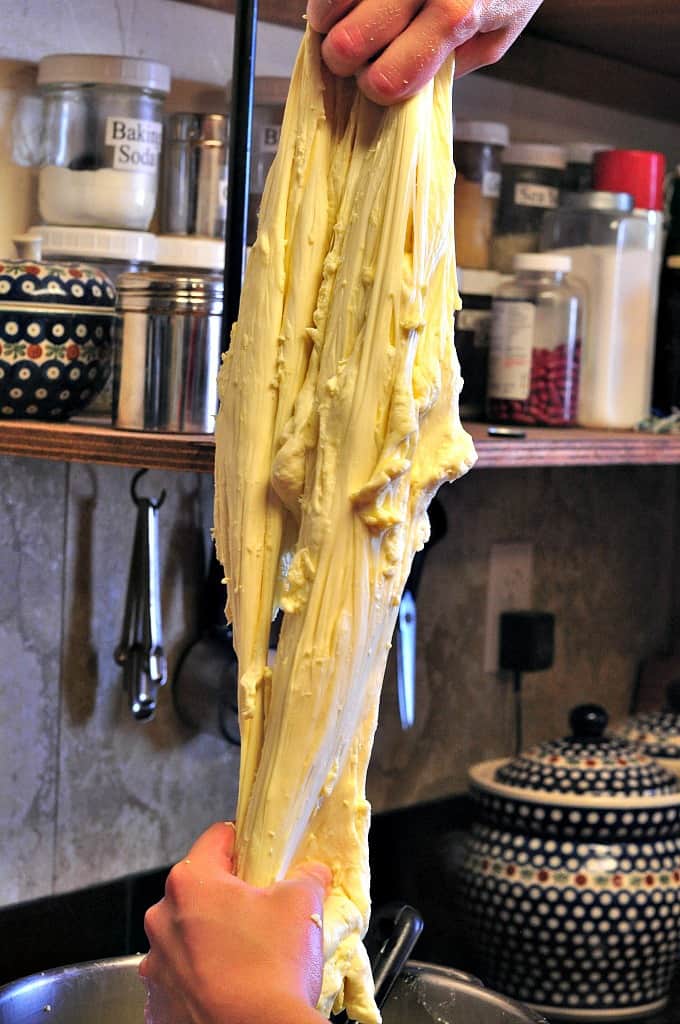
- Once heated again, stretch it again. Continue this process several times until it takes on a shiny, soft, and smooth appearance.
The photo above is from the first stretching and as you can see it is tearing on the left side. It needs a few more stretches.
- It should be ready by the time the whey reaches 150F - 160F. (If the whey gets too hot, the cheese will melt into it.)
As the whey heats to higher degrees be sure to protect your hands and use gloves - it is hot!
You will know the mozzarella cheese is done when it no longer breaks and tears during the stretching process - it also becomes shiny and smooth in appearance.
- Once stretched enough, pour 4 teaspoons (may use more if desired) salt on the counter. Remove mozzarella from the whey and place it on the salt.
- Knead the salt into the cheese but work quickly as it must be hot to absorb the salt.
- Place the cheese back into the whey briefly until it is hot. Remove and roll into a log or place in the desired container.
- Cover with plastic wrap and refrigerate.
I make 4-gallon batches at a time and place them into a rectangular dish similar to a loaf pan. Once chilled, we either eat it fresh with crackers or grate and freeze it.
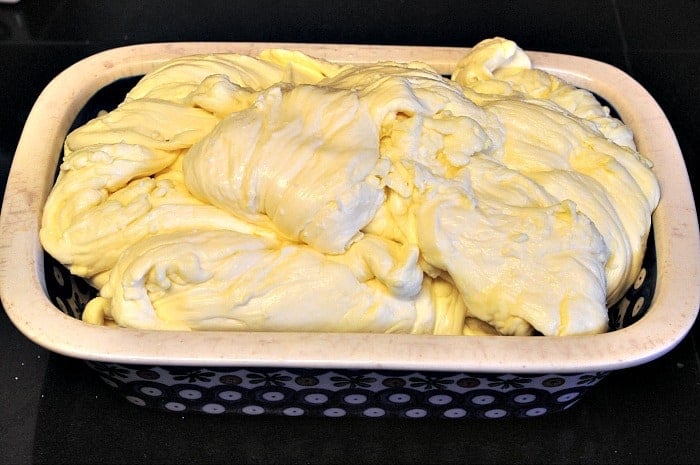
After thoroughly chilling in the refrigerator, I will grate this batch and we will have pizza!
Enjoy!
Storage
Since it's more efficient to make mozzarella in bulk, you may want to store it.
This recipe can be stored for a couple weeks in the fridge, or a couple months in the freezer. Let frozen cheese thaw in the refrigerator for at least 24 hours prior to using it.
More homemade cheese recipes
Making homemade cheese can be a fun and rewarding process! Check out some of my favorite cheese recipes to make at home.
- Ricotta Cheese - This is a great way to put your leftover whey to good use. It can be eaten plain, with herbs added, or add it to other recipes.
- Feta Cheese - This is a great cheese to make when first beginning to make homemade cheese. It's another one we love to put on crackers.
- Cottage Cheese - This is another easy cheese to make that tastes delicious in a bowl with fresh fruit!
This mozzarella cheese makes a delicious fresh base for mozzarella sticks!
Frequently Asked Questions
Unlike other cheese-making processes, this homemade mozzarella cheese recipe calls for heating the curds to 170 F and then stretching it like taffy.
This pulling and stretching give the mozzarella cheese the stringiness it is famous for. Mozzarella cheese is also one of the easiest soft cheeses to make!
Made fresh, it stores in the refrigerator for a couple of weeks and in the freezer for several months
Whey is one of the two main proteins found in milk. It is the liquid remaining after the milk has been curdled and strained
When it comes to making mozzarella cheese, the best milk to use is whole milk. This is because mozzarella is a high-moisture cheese, and using whole milk will provide the necessary fat and protein content to give the cheese the right texture and flavor.
While you can technically make mozzarella cheese with other types of milk, such as skim milk or 2% milk, the resulting cheese will not be as rich or flavorful, and may not have the desired texture. Whole milk is generally considered the best choice for making mozzarella cheese because it provides the best balance of fat and protein for creating a high-quality, delicious cheese.
Traditional mozzarella is made with Italian buffalo milk.
If you’ve tried this Homemade Mozzarella Cheese Recipe or any other recipe on Cultured Palate please take a minute to rate the recipe and leave a comment letting me know how you liked it. I love hearing from you! You can also FOLLOW ME on PINTEREST, FACEBOOK, INSTAGRAM, YouTube and TWITTER.
📋 Recipe
Homemade Mozzarella Cheese
Ingredients
- 2 gallons whole milk whole milk gives a larger yield than skim
- 3 teaspoons citric acid powder
- ¼ teaspoon tablet (or ½ teaspoon liquid) rennet , dissolved in ¼ cup cool water
- 4 teaspoons salt
Instructions
-
Pour milk into pot, sprinkle with citric acid and stir well. Milk must be cold or the citric acid does not work well.
-
Heat milk to 88F - 90F over medium heat. If you overheat - just let it cool back down!
-
Pour dissolved rennet into the milk while stirring.
-
Turn off the heat.
-
Stir slowly and after a few minutes, the milk will begin to thicken. Globs of white curd will separate from the liquid (whey). If it doesn't coagulate immediately, let the milk sit for about 30 minutes.
-
Once the milk has coagulated and the whey separated, turn heat to high and heat milk to 110F.
-
Place a colander over another pot and pour or spoon out the curds into the colander.
-
Continue to heat the whey.
-
Press whey out of the curds in the colander.
-
Place the curds back into the pot of whey and heat until 120 F.
-
With a spoon, lift the curds out of the whey - cool a few seconds, if necessary, and begin pulling and stretching it into a rope. The cheese will break apart at this point if it is not hot enough - just put it back into the whey and let it heat further.
-
After stretching it into a rope, return it back into the whey to heat back up.
-
Once heated again, stretch it again. Continue this process several times until it takes on a shiny, soft and smooth appearance. It should be ready by the time the whey reaches 150F - 160F. (If the whey gets too hot, the cheese will melt into it.) As the whey heats to higher degrees be sure to protect your hands and use gloves - it is hot!
-
You will know the mozzarella cheese is done when it no longer breaks and tears during the stretching process - it also becomes shiny and smooth in appearance.
-
Once stretched enough, pour 4 teaspoon (may use more if desired) salt on the counter.
-
Remove mozzarella from the whey and place it on the salt. Knead the salt into the cheese but work quickly as it must be hot to absorb the salt.
-
Place the cheese back into the whey briefly until it is hot.
-
Remove and roll into a log or place in the desired container.
-
Cover with plastic wrap and refrigerate.
-
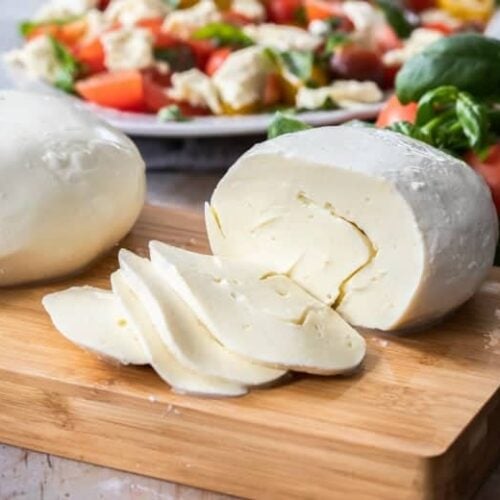
Use as desired - grated, sliced...
Notes
- To make a 4 gallon batch use 5 teaspoon citric acid and 1 teaspoon rennet.
- You can freeze the mozzrella once it's ready
- Before getting started, be sure to check out Cheese Making Basics for helpful tips, supplies and ordering information. If you are interested in cheese making, I would highly recommend the book, available from my affiliate partner, Home Cheese Making by Ricki Carroll – it is an excellent resource.


cookinglady says
oh that is too cool I never really knew how it was made. Maybe LOL one day I'll try it.
Stephanie says
making cheese is on my to do list....along with a 1000 other things, but someday.....
Kerry says
I was wondering what the yield ratio is. When you do your batch with 4 gallons of milk how many pounds of cheese does that render? I really want to try this, I bet it is delicious! Thanks for posting this tutorial!
Dina-Marie says
Kerry, the rule of thumb is 1 gallon of milk yields 1 pound of cheese. I have found that my yields are a little shy and this mozzarella is probably 3/4 - 1 lb of cheese for each gallon of milk.
Tina says
I am going to try this soon. Do you know where that nice grater in your picture came from? Thanks!
Dina-Marie says
Tina, I found it at West Elm and have really enjoyed it!
Maryanne Lally says
I have access to fresh unpasteurized milk as you do. What type of whole milk works best? Thanks!
Dina-Marie says
Maryanne, I would try whole milk from your local grocery store. I have made Mozzarella cheese with it before and it works well. I have heard that some brands do not for various reasons but I have not had a problem. Let me know how it turns out!
Maryanne Lally says
My comment should have said" I do not have access to unpasteurized milk" Sorry
Richard Littlefield says
also if you put a little olive oil on your grater then the cheese doesn't stick and build up and stick
Dina-Marie says
Thanks, Richard, I will try it!
Trina says
Do you know of a good source of non-animal rennet that would work with this recipe? I am vegetarian. Thanks!
Dina-Marie says
Trina, here is my affiliate link for liquid vegetable rennet and vegetable rennet in tablets. It does work well and I used it for about a year. Then I found that for the longer aging cheeses, the vegetable rennet caused a bitter taste - but you don't have to worry about that with mozzarella!
Bonnie says
I just want that cheese grater!
Dina-Marie says
Thanks, Bonnie, I'm glad you like it! I bought it at West Elm.
Bethany says
Hello, I just got the healthy living bundle and have been enjoying your book on cheesemaking. I'm wondering, is string cheese also mozzarella cheese, and how would I go about making it? My kids love string cheese, but it is expensive in the store, and we have free access to raw unpasteurized milk from the dairy where my husband works. If you could give me some tips I'd appreciate it!
Dina-Marie says
Bethany, I would try rolling mozzarella cheese into small rolls like the string cheese is and refrigerate. What a great idea - let me know how it works!