How many times have you bought a bottle of sunscreen for your family? Buy no more - now you can make your own Homemade Sunscreen! Be sure to watch the video and see just how easy it is to make your own DIY sunscreen.
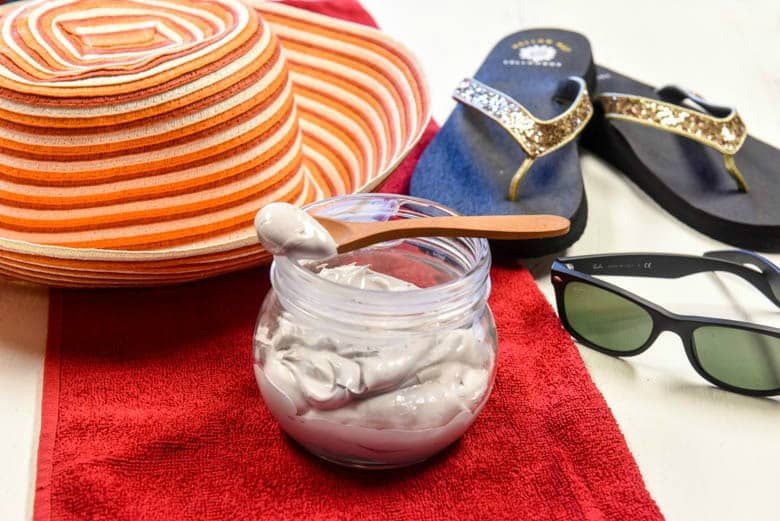
The best part to me about Homemade Sunscreen is that no longer am I putting on my skin unnecessary ingredients and chemicals. I mean, have you ever tried to read out loud the ingredients? Many (or most) of them I cannot even pronounce!
Homemade Sunscreen Video
I learn best by watching someone else. So, watch the video and see for yourself just how easy it is to make your own sunscreen without all the unnecessary ingredients and harmful chemicals!
Homemade Sunscreen Video Resources
I love knowing what other people use and why they like particular products. Here is a list of resources that you see me use in the video and why I like it. The links will take you to Amazon.
- Cookware - This is a nice heavy gauge stainless set and I love the glass tops because you can see without opening and losing heat.
- Glass Milk Bottles - These work great for serving small amount at the table such as, salad dressing or pouring oil in as you see me do in the video. One of my favorite uses for these, though, is as flower vases!
- Measuring Spoons - Any will do and the ones I use in the video, I can no longer find but I also have this set and use it a lot.
- Essential Oils - Do you homework and choose a high quality essential oil because the skin is our largest organ. That means that what you put on your skin can get into your bloodstream very quickly. There are good quality oils available and every company has there problems, so, I choose not to promote a particular brand. If you are interested in what I use, you are welcome to email me for info.
- Glass 2 cup measuring cup - This has been around our home for years and keeps on measuring!
- Immersion Blender - I have other brands but this one beats them hands down for durability - I use it daily!
- Zinc Oxide - This is the brand I use and is non-nano
In living a healthy lifestyle, one area that is often overlooked is the products that we put on our skin. Bear with me here and remember that I am a nurse so I really get into this type of thing ;)
Our skin is the largest organ of our body. Did you know that whatever you put on your skin can get into your bloodstream faster than the food you eat?
Amazing - and we often don't even think about it!
That is why the quality of any products we use should be carefully looked at. One way to do this is through the Environmental Work Group or EWG. Their cosmetic and skincare database can be found here.
The EWG rates products based on the ingredients it contains. Each product is rated on a scale of 1 - 10 with 10 being the worst. I do not like to use anything over a 2 and those are rare.
That is where the homemade replacements come in - you can get rid of all the unnecessary ingredients and chemicals that are used. Many are used to lengthen the shelf life of products. When making them at home, you can make enough for short term use and then make a fresh batch.
Why use zinc oxide in sunscreen?
Zinc oxide being a mineral substance, can sit on top of the skin and reflect the UV light rays away, scattering them so to speak. This makes it a physical barrier as opposed to a chemical barrier sunscreen.
A chemical sunscreen traps the UV rays in the top layer of the skin preventing them from affecting the deeper layers of skin. Oxybenzone is the most commonly used chemical used in sunscreens to provide this type of protection and can cause irritation and toxicity.
Most chemical sunscreen formulas require multiple chemicals to block both UVA and UVB rays. And, the more chemicals that are used, the greater the chance there is of irritation and toxicity.
My DIY Sunscreen recipe does contain zinc oxide because it is a very good broad-spectrum sunscreen and has healing properties for the skin - it is great for skin irritations and rashes.
Having a vineyard means we are in the sun a lot of each day! I make our sunscreen to reduce the risk of skin cancer in myself and the children - not to mention signs of aging like wrinkles!
DIY Sunscreen - Steps for Making Homemade Sunscreen
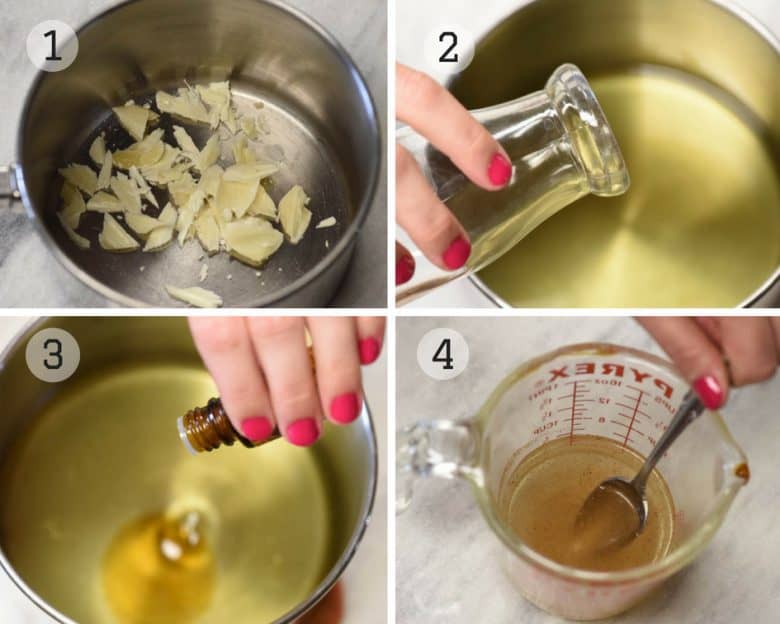
- Melt beeswax in boiler. Not shown, at the same time, bring 1 cup of water to a boil (we use the microwave). Photo 1
- Pour olive oil into the melted beeswax. Photo 2
- Add vitamin E and essential oils. Photo 3
- Measure ¾ c simmering water and add citric acid and cinnamon. Photo 4
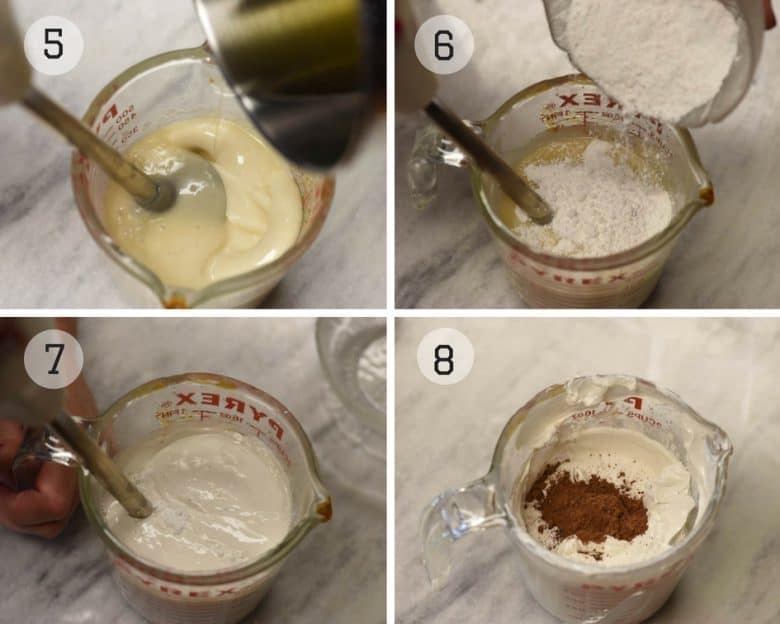
- Use immersion blender to create the emulsion. Photo 5
- Add the zinc oxide and continue blending to fully incorporate the zinc oxide until mixture is smooth and creamy. Photo 6 - 7
- Add cocoa if desired for tint. Photo 9
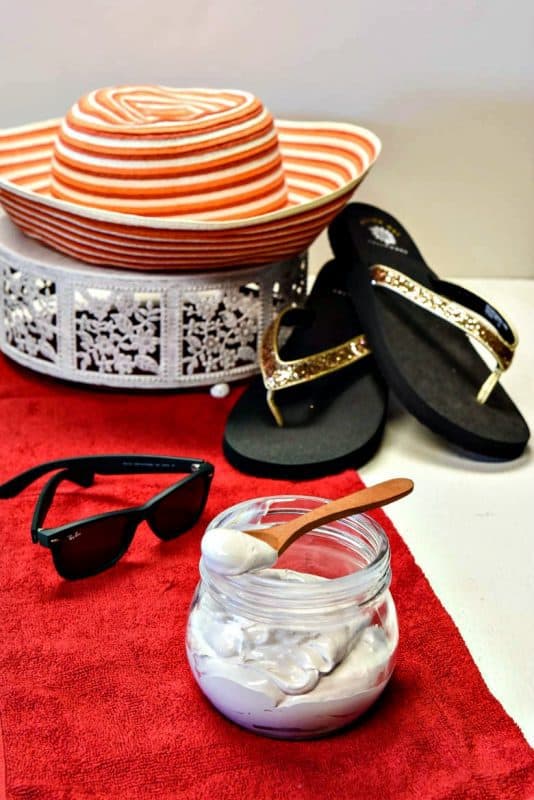
- Spoon into jar and enjoy the sun safely!
If you’ve tried HOMEMADE SUNSCREEN or any other recipe on Cultured Palate please take a minute to rate the recipe and leave a comment letting me know how you liked it. I love hearing from you! You can also FOLLOW ME on PINTEREST, FACEBOOK, INSTAGRAM, YouTube and TWITTER.
Homemade Sunscreen
Ingredients:
- ¾ c Olive Oil
- 3 tablespoon Beeswax, grated
- ¾ c Water
- ⅛ teaspoon Citric Acid
- ⅛ teaspoon Cinnamon
- 1 teaspoon Honey
- ½ teaspoon Vitamin E Oil
- 8-16 drops Essential Oil (optional)
- 1.6 oz Zinc Oxide
- Cocoa Powder (optional - for tint)
- Place 1 cup water in a pot and bring to a boil. When your water comes to a boil, reduce heat and let simmer 2-3 min.
- Gently melt beeswax.
- When the beeswax is fully melted, add the olive oil, stir, and then turn off the heat.
- Move back to your 1 cup simmering water: Remove from heat and measure out ¾ cup of water. Stir in citric acid and cinnamon.
- Allow the oil/wax mixture and water mixture to cool to about 120F - this should take about 15-20 min. The oil and water need to be about the same temperature for the next step.
- When your ingredients have cooled, add honey to the water mixture.
- Add the vitamin E oil and the essential oils (optional) to the oil mixture.
- Now it's time to create your emulsion. Start mixing your water with your immersion blender.
- While the immersion blender is whirring, pour the oil mixture as s-l-o-w-l-y as you can manage. If there is water sitting on the top, blend some more.
- Add zinc oxide and mix well.
- Add cocoa which is good for your skin and used as a tint as desired.
- Enjoy!
Shelf life: This DIY Sunscreen will last 4-6 weeks at room temp (if stored in a cool, dark place), or 3-6 months in the refrigerator.
Not Into DIY or Making Your Own Sunscreen?
Don't worry if you are not really into making your own DIY products because there is still a safe skincare and cosmetic option for you.
It is important to remember that just because products say "organic" does not mean they are safe.
Many have unnecessary ingredients, chemicals that are harmful and even hide behind the word "fragrance" so they can add unhealthy ingredients.
Since your skin is the largest organ of your body, and what is put on your skin can get into your blood stream quicker than the food you eat, "safe" is a keyword in skincare and cosmetics!
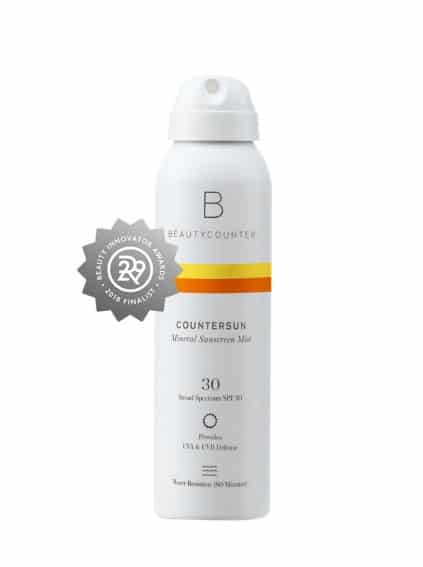
It is very important to use only safe, non-toxic, chemical free products on your skin. This Countersun Mineral Sunscreen Lotion SPF 30 is a great place to start and protects against damaging UVA, UVB and Blue Light.
Beautycounter prohibits chemical SPF filters due to their high potential for skin irritation. Using physical sunscreens, more commonly known as mineral sunscreen (Zinc oxide or titanium dioxide) which sit on the surface of the skin and physically bounce or reflect sun’s rays away from the skin.
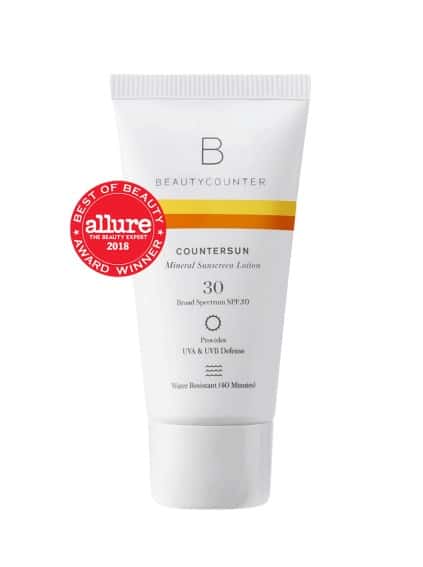
What is the difference between the lotion and mist? Nothing as far as the protection and non-toxic sunscreen you get.
The mist sprays on white to help guide application, blends in easily, and dries quickly without an oily residue.

Comments
No Comments